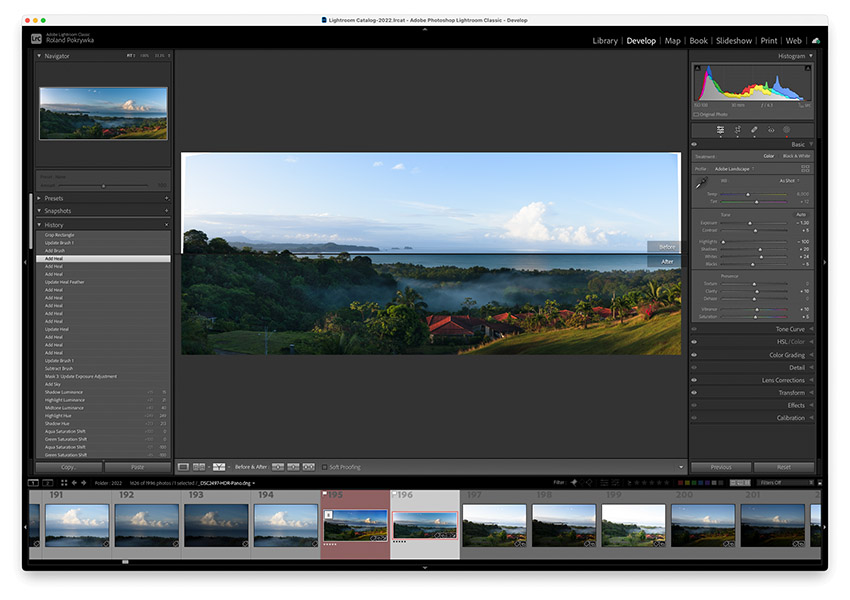
Top Lightroom Classic keyboard shortcuts to boost your workflow.
In this post, I’ll provide a complete guide to Lightroom Classic keyboard shortcuts, organized by module and function, so you can quickly find the shortcuts you need to take your editing to the next level.
If you’re a photographer who spends a lot of time editing your images in Lightroom Classic, you know how tedious it can be to constantly switch between tools and menus to achieve the desired results. That’s where keyboard shortcuts come in. By memorizing and utilizing the right shortcuts, you can streamline your workflow and spend less time clicking around.
I also tried to organize them in the way as my workflow progresses and how often you might actually use a particular keyboard shortcut. Hope you’ll enjoy the read. Most importantly – try the shortcuts!
Library Module keyboard shortcuts
- G, E, C and N – key Library views.
- Cmd+click, Shift+click, Cmd+A and Cmd+D – selecting images.
- 1-5 and 0 – rating images.
- P, X, U – marking with flags.
- 6 – 9 – adding colour labels to photos.
- L – activating lights out mode.
- Cmd+[ and Cmd+] – rotating images.
- Cmd+U – applying auto tone settings.
- Cmd+2 – opening the keywords panel.
- \ – show filter bar.
Develop Module keyboard shortcuts
- D – enter the Develop module.
- Cmd U – apply auto tone settings, Cmd+Shift+U – auto white balance.
- Cmd+Z – undo last action-s.
- Cmd+Shift+R – reset all changes.
- R – crop an image.
- O – show composition overlays.
- Q – spot removal tool.
- H – hide/show tool pins.
- K – create new brush mask.
- [ and ] – adjust the brush size.
- / – change between brush A and B, or use Alt for an eraser.
- M – linear gradient tool, Shift+M – radial gradient.
- Cmd+C and Cmd+V – copy and paste image adjustments.
- Cmd+’ – create a virtual copy.
- V – convert to black & white.
- Y – before and after split view.
- \ – toggle between before\after.
- Shift+Tab – hide all panels.
- F – preview image in full-screen.
- Cmd+E – edit in Photoshop.
Apple Mac keyboard symbols guide.
If you’re using Lightroom Classic on an Apple Mac computer, you may notice that some of the keyboard shortcuts mentioned in this guide include symbols such as Cmd, Option, and Shift.
These special symbols correspond to specific keys on the Apple Mac keyboard and can be essential for using shortcuts effectively.
To help you get started, here’s a quick guide to the most commonly-used symbols and how they correspond to keys on your keyboard:
| Command (or Cmd) | ⌘ |
| Option (or Alt) | ⌥ |
| Shift key | ⇧ |
| Tab key | ⇥ |
How to use Lightroom Classic keyboard shortcuts?
Using these shortcuts is pretty straightforward! Just hit the key or a combination on a keyboard.
Don’t worry about capital letters, if you see K – just hit k on the keyboard, it doesn’t need to be upper case.
Importantly for the shortcut to actually work you need to be in the right module – either Library or Develop.
If the shortcut is Cmd+C this means that you need to press Cmd and while holding down Cmd key press the letter c. I hope this makes sense. So a combination of two keys at the same time.
10 Lightroom Classic keyboard shortcuts for Library module you need to know
Efficiently organizing and managing your photo library is crucial to streamlining a workflow. Yes, with the Library module, you can quickly sort, filter, and rate your images. But did you know that using keyboard shortcuts can make these tasks even faster?
In this section, I’ll cover my 10 favourite keyboard shortcuts for the Lightroom Classic Library module that every photographer should know.
I am 100% positive, that these shortcuts will help you navigate through your photos with ease and speed up your workflow.
1. Use G, E, E and N keys for the most useful Library views.
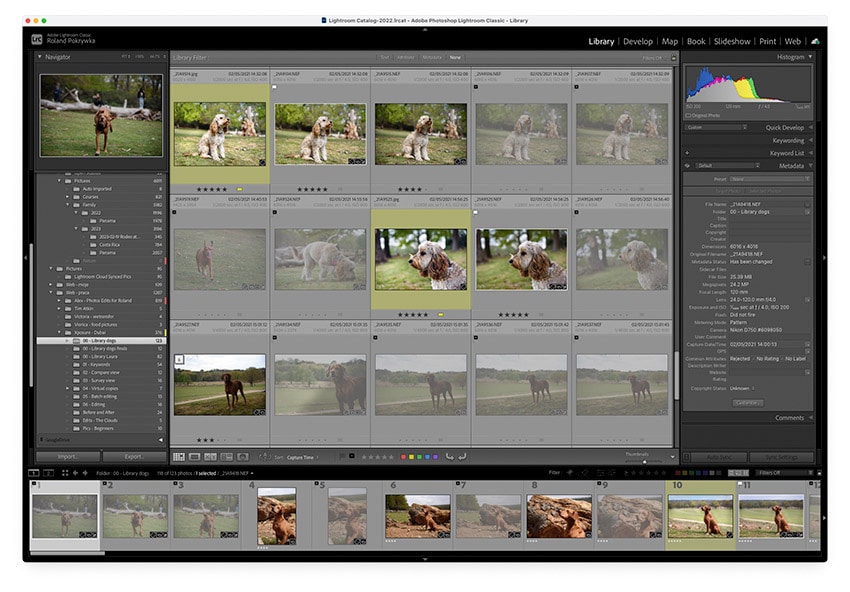
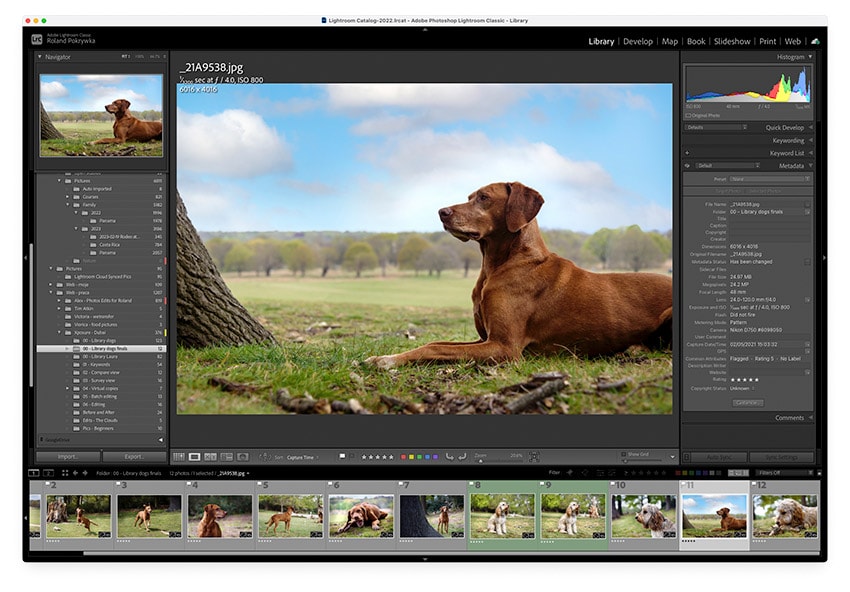
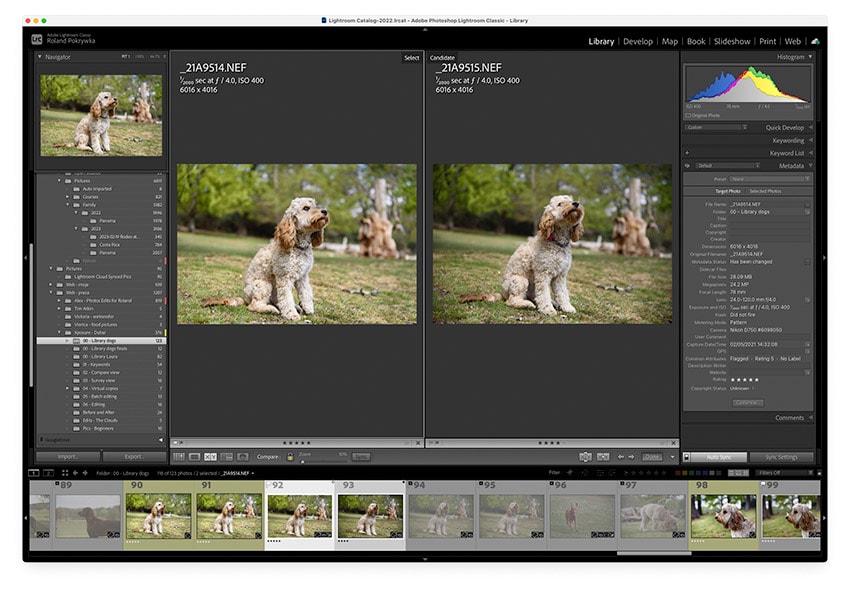
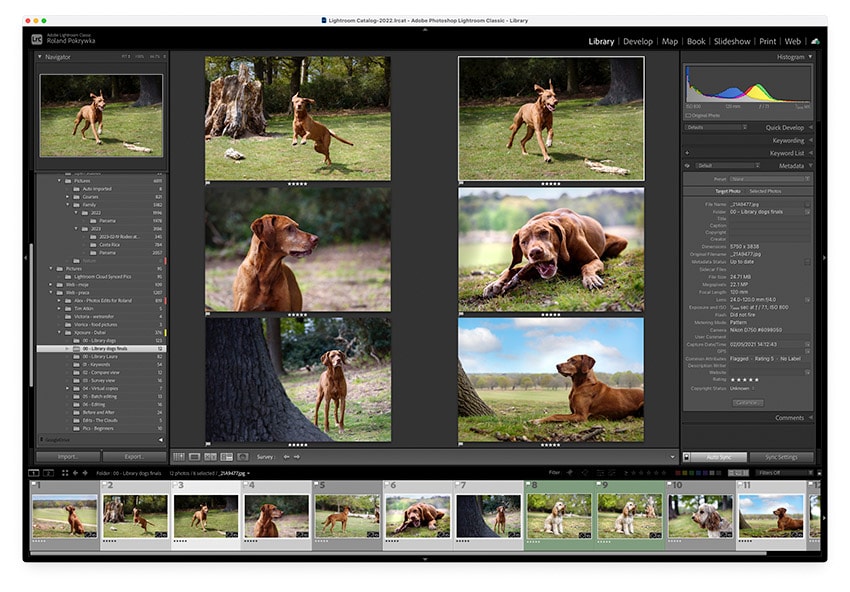
I spend 90% of my time in the Library between the Grid and Loupe views. Hence G and E shortcuts are a must. C comes super handy to compare two images, and N to choose the best one from a group.

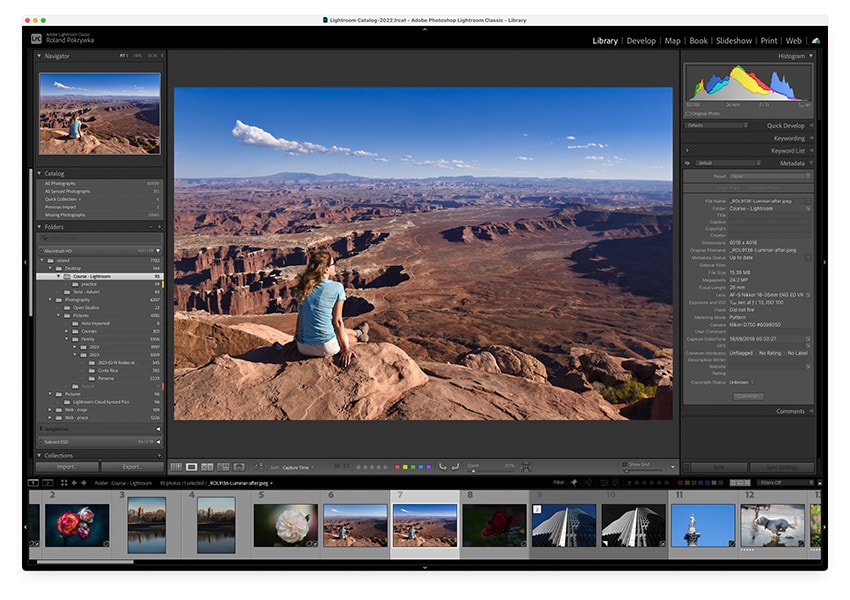
G – Grid View: pressing the ‘G’ key will take you to the Grid view in the Library module. This is where you can see all of your photos in a grid layout, making it easy to quickly scan through them.
E – Loupe View: allows you to see one image in full view (FIT/FILL) or zoom in to check the focus and see the details.
C – Compare View: splits the view so you can preview two pictures side-by-side. This is super useful when you have two very similar images and you want to see the differences between them, decide which one should have a higher rating, or which to keep and/or delete.
N – Survey View: you can compare multiple photos at once and select the best one from a group.
2. Cmd+click, Shift+click and Cmd+A to save time by group selecting photos.
When working in the Library module, speed and efficiency in the image selection process are crucial. Rating images, adding keywords, all take time. Yes, you can make that one by one, but being able to select multiple images will make it so much faster.
Luckily Lightroom Classic provides several keyboard shortcuts to make the selection process more efficient. Here are some of the most useful ones:
Cmd + click (Mac) or Ctrl + click (Windows) to select individual images
Shift + click to select a range of images
Cmd + A (Mac) or Ctrl + A (Windows) to select all images in the current view
Cmd + D (Mac) or Ctrl + D (Windows) to deselect all selected images.
Remember, you can use these shortcuts in combination to quickly select specific images or groups of images, saving you time and effort.

Using Cmd + click to select multiple images (5 dahlias) to auto-tone them, apply various keywords, and a Red label.
3. Use numbers 1-5 to rate images, and 0 to clear unwanted ratings.
Rating images in Lightroom Classic is an essential step in the organization and management of your photo library. By assigning ratings to your images, you can easily filter and search for your best shots, helping you save time and streamline your workflow.
It couldn’t be simpler in Lightroom. Instead of clicking on tiny dots below an image, use the keyboard and press numbers from 1 to 5 to give an image one to five stars. Or use 0 to clear the rating.
Generally, I don’t want to waste time on 1 and 2 stars, and these images are going to the bin.
3 stars = is ok image but requires lots of editing.
4 stars = good image, but still needs some work.
5 stars = best image, may need only a light edit.
Let me know in the comments what you think about my system. How do you rate your images?
4. Use P, X and U keys to flag images as Pick or Rejected.
After rating images, I use flags to pick favourites and mark which pictures are going to be deleted.
With Lightroom Classic’s flagging system, you can easily mark photos as ‘pick‘ (P) – represented by a white flag, ‘reject‘ (X) – represented by a black flag, or leave them as ‘unflagged‘ (U).
The last time I went to photograph a London Marathon, I ended up with over 2000 images. After rating all the photos, I had over 100 five stars. I then used a flagging system to tell Lightroom which images are my very best – my picks, so I could edit them quickly and upload them to the gallery.
I typically then go through all the unrated and unflagged images to see if I missed anything, if not, I give all these images black flags (reject) indicating that all of them are going to the bin.
5. Use numbers 6-9 to mark images with colour labels.
Ok, if stars and flags are not enough, another way to organize photos in Lightroom Classic is by adding color labels.
By assigning a color label to an image, you can quickly identify it and sort your collection accordingly.
As numbers 1-5 are used for the rating with stars, numbers 6-9 are for labels.
6 – Red
7 – Yellow
8 – Green
9 – Blue
and if you want to use Purple you have to actually click the color label to apply it.

I use labels to mark images that I am going to use for Instagram and other social media platforms.
Green label – the picture has been edited, it has all the right keywords, and is ready to be exported from Lightroom. After posting, I change the green label to the color purple, to mark pictures that have already been used.
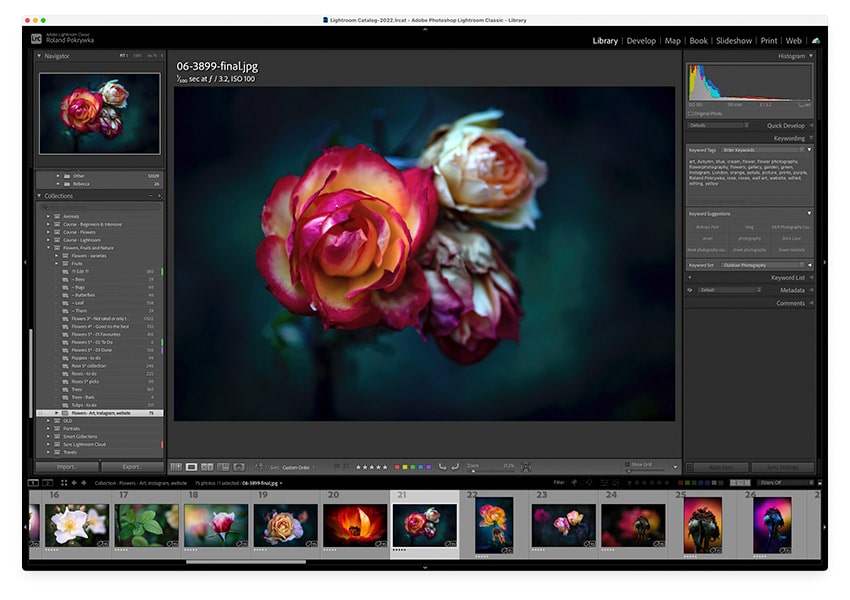
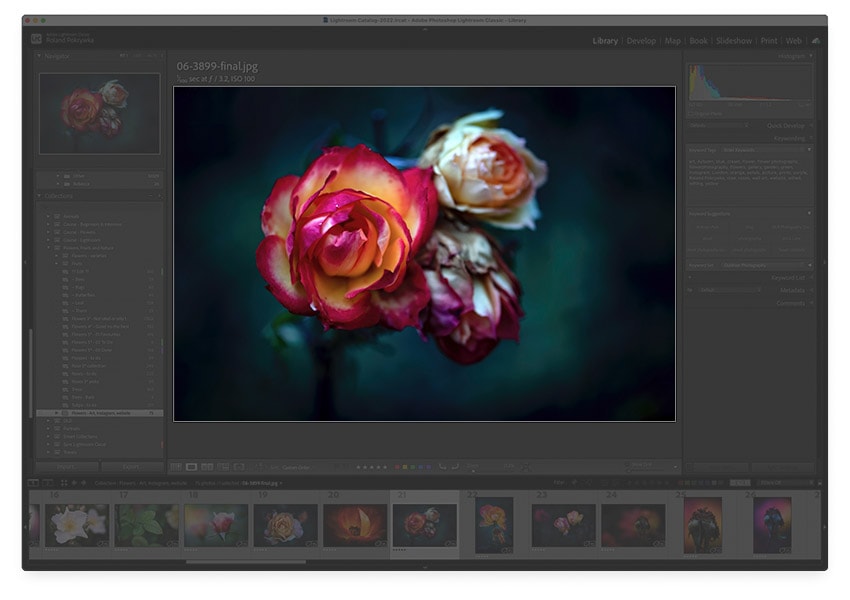
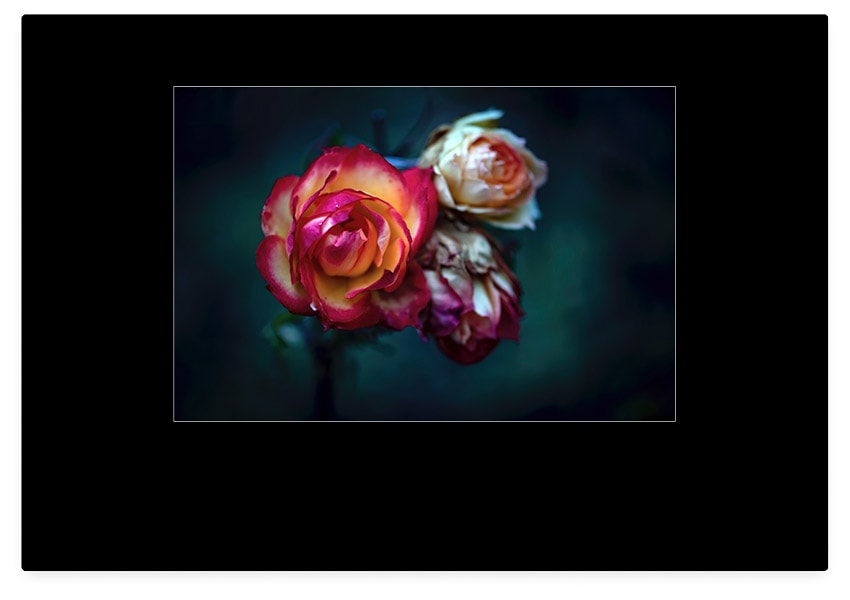
6. Hit L to activate the Lights Out mode.
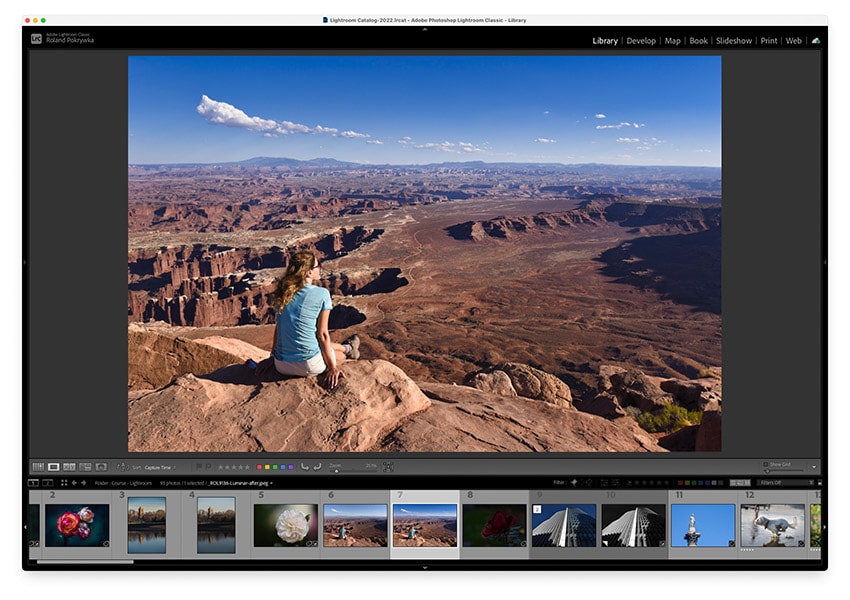
Ever found yourself getting distracted by the cluttered interface while trying to focus on an image in Lightroom? Well then, you must try Lights Out mode – a handy feature that allows you to dim everything around the photo you’re working on, so you can concentrate on the details of the image without distractions.
To activate this mode press letter L – the screen will dim a little. Press L one more time and the area around your image will be completely black. Finally, press L for the third time and Lightroom will come back to the regular view.
I use this mode all the time while going through the pictures and selecting my favourites. I typically move a little bit further away from the screen, take the keyboard, and navigate between images using the arrow keys: ← previous image and next →
This way I can fully concentrate on every image, think about the composition, rate images, apply color labels, mark with flags etc…
7. Use Cmd+[ and Cmd+] to rotate image.
Rotating images is such a common task, and using the mouse to do so can be cumbersome. Luckily, Lightroom offers a handy keyboard shortcut for this task: Cmd + [ to rotate an image 90 degrees clockwise and Cmd + ] to rotate the image anticlockwise.
You can also hold the Cmd and continue pressing [ or ] to rotate the image another 90 degrees.
Save time by selecting multiple images that need rotating!
8. Use Cmd+U to quickly check the exposure of an image using the auto tone feature.
The auto tone feature in Lightroom Classic can be a very useful tool if you want to quickly check the exposure of an image or multiple images.
Instead of adjusting each element of exposure individually (a third of a stop or full stop at a time), you can let Lightroom do the hard work for you with just one keyboard shortcut: Cmd + U.
I always use it when I come across overexposed or underexposed images. Lightroom can instantly analyse an image and indicate whether I will be able to recover some of the details currently hidden in the highlights and/or shadows.
With some images it works wonders, with others it is super bad. Give it a try, and see what you think!

Compare view in Lightroom. Left – raw and untouched image. Right – Cmd+U auto tone applied to a virtual copy.
9. Open the keywords panel with Cmd+2
Keywords are an essential part of organizing your photos in Lightroom. With the Cmd+2 keyboard shortcut, you can quickly access the Keywords panel to add, edit, and manage your photo tags.
You can select one image or multiple pictures to add keywords. Type them in or click keywords suggestions.
This shortcut, as well as the suggestions feature, will save you a ton of time!

Cmd+2 opens the Keywording panel where so you can quickly add keywords to an image.
10. Press \ to search for images using the filter bar.
Looking at my Lightroom catalog now, wow, I’ve got over 60,000 photographs…
Managing large collections of photos can be challenging, but Lightroom Classic’s filter bar can make it a whole lot easier.
If it is not visible at the top of the main window in the Library in the Grid view, the filter bar is activated by pressing the \ – backslash key on the keyboard.
You should notice options like Text, Attribute, Metadata and None – which clears the filter search.
With the filter bar, you can quickly find and organize images based on a range of criteria, including rating, color label, keywords, and more.
You can even search for images shot with a specific camera, lens, aperture, ISO, or within a specific date range. And of course, you can combine these filters for an even more powerful search.
Please note: this shortcut won’t work if you are in the Compare view.
20 Lightroom Classic keyboard shortcuts for Develop module you need to know
When it comes to editing photos in Lightroom Classic, the Develop module is where the magic happens. From adjusting exposure and color to applying creative effects and presets, the Develop module offers a powerful set of tools to bring your images to life.
But with so many sliders and options available, editing can sometimes feel overwhelming. That’s where keyboard shortcuts come in.
By using these time-saving shortcuts, you can speed up your workflow and focus on the creative part of editing.
In this section, I’ll share with you my favourite 20 keyboard shortcuts for the Lightroom Classic Develop module that will help you work faster and more efficiently.
11. D – enter the Develop module.
One of the most important modules in Lightroom Classic is the Develop module, where you can make adjustments to your photos to enhance their look and feel.
To enter the Develop module quickly, simply press the letter D on your keyboard.
This shortcut is especially useful when you have a large number of images to edit and need to navigate quickly between Library (G) and Develop module (D).

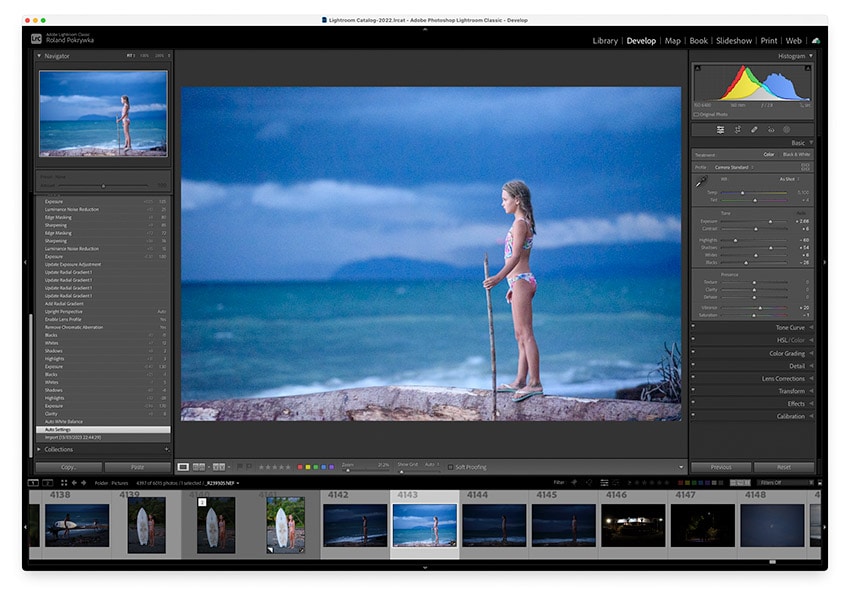
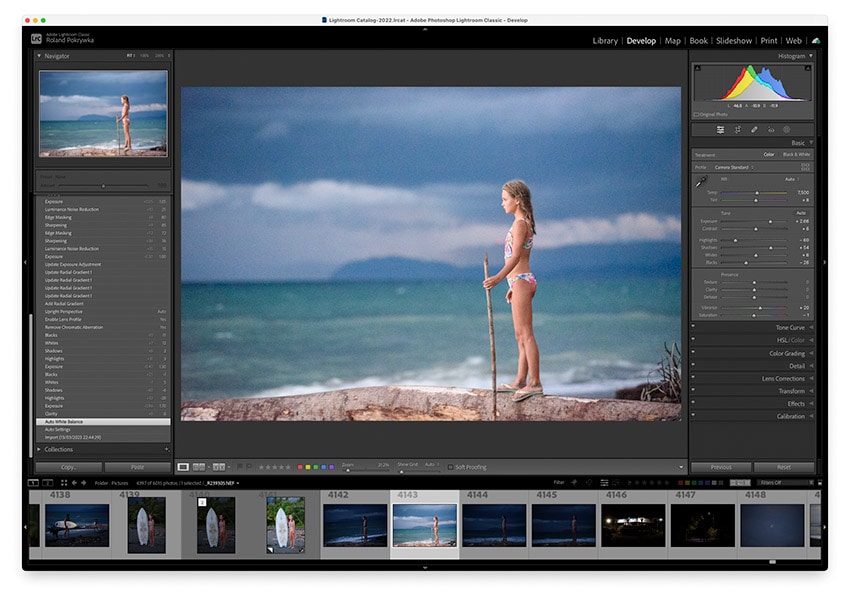
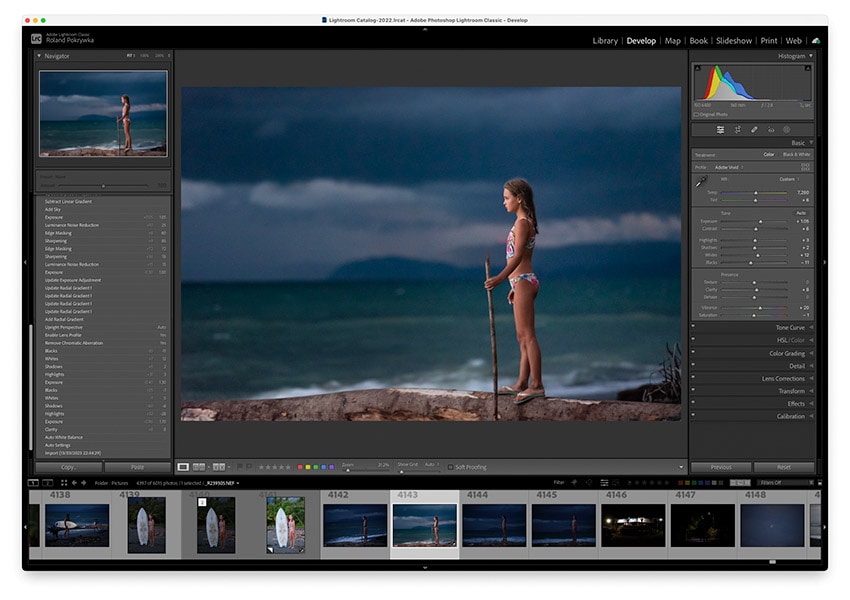
12. Use Cmd+U to apply auto tone settings, Cmd+Shift+U for auto white balance.
I’ve already mentioned the Cmd+U shortcut for auto tone in the Library section, but its use really shines here in the Develop module. With just two keystrokes, Lightroom can analyse your image and adjust the exposure for the optimum tonal range.
Of course, many times it won’t be perfect, but it can give you a good indication of where to go from there so that you can fine-tune your image and achieve the desired look.
Use Cmd+Shift+U to apply auto white balance.
13. Hit Cmd+Z to undo the last action.
Mistakes happen even to the best of us, and that’s why the Cmd+Z shortcut is a lifesaver when it comes to undoing the last action in Lightroom Classic’s Develop module.
Whether you’ve applied an effect you’re not happy with or accidentally deleted a portion of your image, Cmd+Z is the go-to keyboard shortcut to get you back to where you were before.
Yes, you can open the History panel and try to do it from there, but Cmd+Z is just so much quicker, to undo one or many actions.
14. Reset all the changes from an image with Cmd+Shift+R
Ok, so you’ve done some edits but you don’t like the way things are going and just want to start over from scratch.
Yes, Lightroom Classic has a handy keyboard shortcut for that: Cmd+Shift+R
Pressing these keys will reset all the adjustments you’ve made to an image, so you can start fresh with a clean slate.
15. Press R to crop an image.
When it comes to cropping images in Lightroom Classic, the R key is your new best friend.
Whether you want to change the aspect ratio, straighten the horizon, or simply crop an image to remove unwanted elements from your composition, the crop tool offers a wide range of options to help you achieve your vision.
With the R shortcut, you can quickly access this powerful tool and start making adjustments with ease.
16. O will show different composition overlays.
In addition to the crop tool, Lightroom Classic also offers composition overlays that can help you make precise crops and adjust your images for optimal composition.
After activating the crop tool, press the O key to see the overlay.
You can toggle these overlays on and off, allowing you to see different guides, such as the rule of thirds, diagonal lines, golden ratio, and more.
17. Q activates spot removal tool.
The Q key is a super useful shortcut in Lightroom Classic. One that I use the most, as it allows you to quickly access the spot removal tool (you can switch between three different modes: Content-Aware Remove, Heal and Clone)
You can use this tool to remove small blemishes, sensor dust spots, lines, a variety of unwanted small objects, and many other imperfections from your images.
Simply hit the Q key, select the desired mode, adjust opacity, and you’re ready to go!
This can be a real time-saver, especially if you’re working with a large number of images and need to make quick adjustments. Simply remove all dust spots, copy these changes, and paste them into another image!
18. Press H to hide/show tool pins.
When you’re editing photos in Lightroom Classic’s Develop module, you may use the Spot Removal tool to remove unwanted spots or blemishes in your images.
However, sometimes these tool pins can be distracting when you’re trying to view your overall image. Or if you want to add another healing spot very very close to the area where there is one already, Lightroom will prevent you from doing so.
That’s where the H keyboard shortcut comes in handy. With just a simple press of the “H” key, you can easily hide or show all the spots/tool pins, giving you a better view of your edited photo.
You can also add additional pins on top of the existing ones, to really clean the area you’ve been working on.
19. K – create a new brush mask.
Letter K activates the Brush Tool in Lightroom Classic. This is by far my favourite tool and I probably use it the most if compared to any other tool. Using this shortcut is just much quicker than trying to move the mouse and click and select what you want.
Super powerful and versatile, lets you make precise adjustments to specific areas of your photos, rather than adjusting the entire image. With the Brush Tool, you can selectively adjust exposure, contrast, saturation, sharpness, and more.
20. Use [ and ] to adjust brush size.
One of the most common tasks in Lightroom is brushing adjustments onto specific areas of your photos.
However, using the brush tool can quickly become tedious if you have to constantly adjust the size of your brush with the slider or mouse wheel.
That’s where the [ and ] keys come in – they provide a quick way to adjust your brush size without interrupting your workflow.
21. Hit / to change between brush A and B, or use Alt for an eraser.
If you’ve ever used the brush tool you already know how useful it is, but also how much time it takes to make adjustments.
Sometimes you want to use a large and soft brush, sometimes one that is small, hard, and precise. And what about if you went over with the brush and need to erase some adjustments?
That’s where the forward slash / keyboard shortcut comes in handy. By pressing / key, you can quickly toggle between brush A and B, or press and hold the Alt key to switch to the eraser, allowing you to make adjustments more efficiently and effectively!
22. Use M for the linear gradient tool, and Shift+M for the radial gradient.
The Gradient Tool and Radial Gradient Tool in Lightroom Classic can be incredibly powerful for adding depth and dimension to your photos.
With the M key, you can quickly access the Gradient Tool, allowing you to create a gradient effect across your image.
And with M+Shift, you can access the Radial Gradient Tool, which is perfect for creating a circular gradient effect that can be used to draw the viewer’s eye toward a specific part of your photo.
23. Copy and Paste image adjustments with Cmd+C and Cmd+V.
Are you sometimes tired of manually adjusting each photo in your Lightroom catalog? Especially if consecutive images need the same or very similar adjustments.
With hundreds, if not thousands, of images to edit, it’s easy to feel overwhelmed. But what if I told you there’s a way to quickly apply the same adjustments to multiple images? That’s right, with just two keyboard shortcuts: Cmd+C and Cmd+V – you can copy and paste image adjustments across your entire selection, saving you time and effort.
When you hit Cmd+C you will be presented with a Copy Settings panel where you can choose exactly what you want to copy and paste on another image.
One important thing to notice! If you want to paste adjustments on several images at once, you must switch on Sync… button – see the button bottom right with a yellow border around. This allows the synchronization of image adjustments between multiple photos.
Yes, you can still use the Copy and Paste buttons – see bottom left, but I find the keyboard much quicker.
24. Cmd+’ to create a virtual copy.
Creating a virtual copy is a great way to experiment with different editing styles without affecting your original image. This is super useful if for example you are shooting headshots and your clients asked you for colour and b&w versions.
In Lightroom Classic, you can create a virtual copy with just one keystroke: Cmd ‘ (Mac) or Ctrl ‘ (Windows).
This command duplicates your current image, allowing you to apply different edits and presets to it while keeping the original intact. It’s a quick and easy way to try out new ideas and compare different looks without the risk of losing your original file.
In the screen grab below you can see the original image in the top left, and three square virtual copies.
What I really like about virtual copies is that they “virtually” don’t take up space on the hard drive. They only exist in Lightroom, so you can create as many variations as you like without sacrificing space.
In Lightroom, you can identify virtual copies by a small icon that appears on the bottom-left corner of the thumbnail. The icon looks like a white triangle, or as if you were to peel a sticker. This icon indicates that the image is a virtual copy, and it’s different from the original.
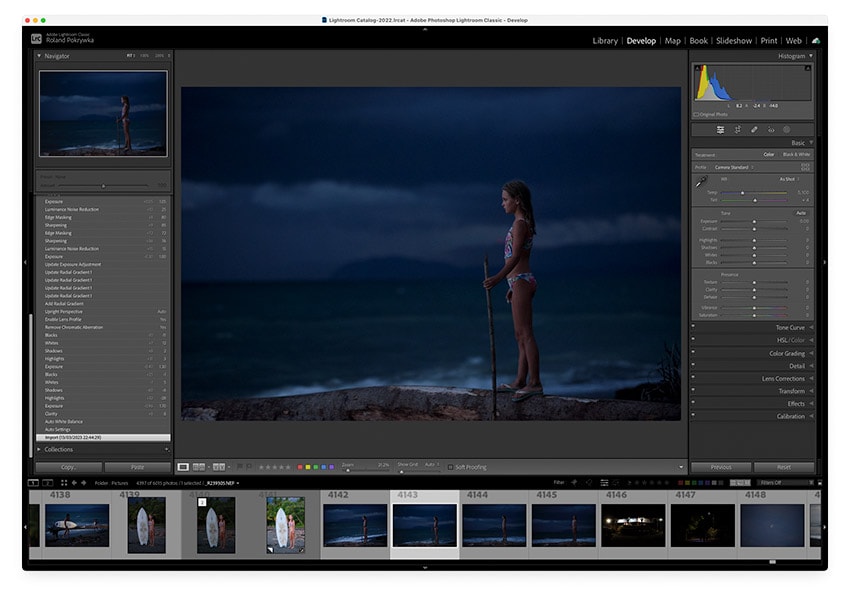
25. Press V to convert to Black&White
Transform your color photos into stunning black-and-white masterpieces with just one key!
With V shortcut, you can quickly and easily switch between colour and blac&white modes, allowing you to explore the creative possibilities of monochrome photography.
And remember that you can make some extra variations by using B&W Lightroom presets and creating new virtual copies.
In the image above I used a technique called creating a silhouette. This is one of my favourite creative techniques. If you would like to learn more about how to create silhouettes in photography be sure to check my post – Best Examples of Silhouette Photography with Tips and 10 Photo Ideas
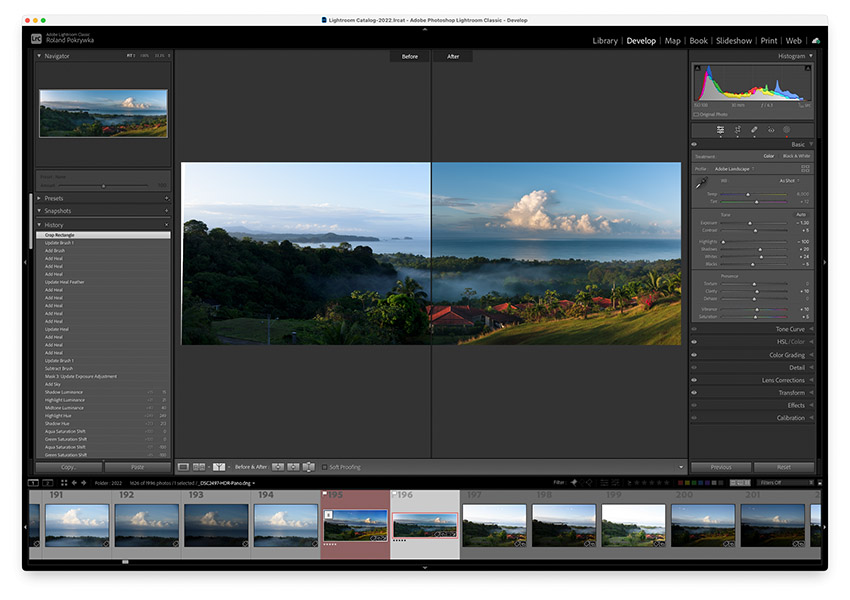
26. Hit \ to toggle between before\after.
Do you ever find yourself wondering how big of a difference your photo editing is making?
If so, use \ (backslash) shortcut, to can quickly toggle between your original image and your edited version, so you can see exactly what changes you’ve made.
I find this feature especially useful when I am trying to fine-tune my edits and ensure that I am not overdoing it.
If you want to learn more about the different ways to see the Before and After in Lightroom be sure to check this post – How to see Before and After in Lightroom Classic, Cloud CC and Mobile


Hit \ to and see the before and after version of your image
27. Use Y for before and after split view.
Ok, so you’ve made some edits, maybe fixed the horizon, and problems with dust spots, cropped it, and the image is looking better… Good!
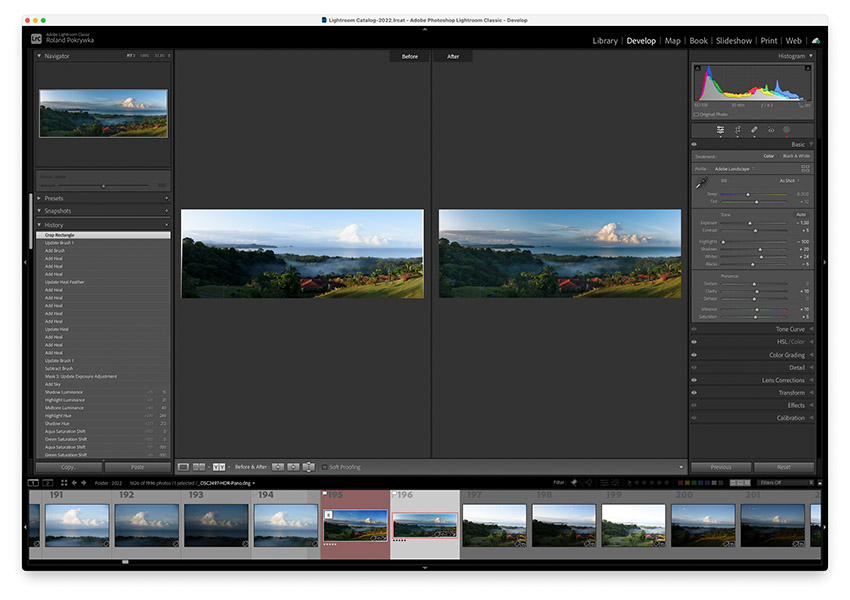
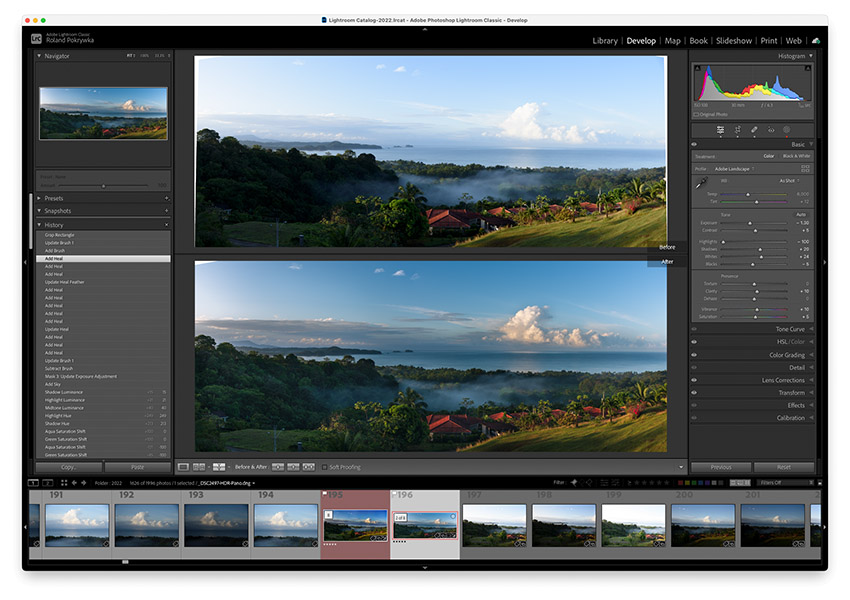
What I like to do next is to check the progress and ensure I am making the desired changes to my image, and for that, I use the “before and after split view“. Press the Y key, and you can quickly toggle between the original image and your current edited version, allowing you to see the differences side-by-side.
There are four different views, Left/Right and Top/Bottom, side by side, and split view. You will always be able to see in the middle a line between the two versions, I only wished it would be possible to move that line across to reveal more of the before or after… but it always stays in the middle. Maybe sometime in the future, we will get that option. Lets hope!
To see all these different views in action check my post about Lightroom dedicated Before and After Views.
28. Hide all panels with Shift+Tab keys.
Wish you could just focus on your photo without any distractions?
You can hide side panels by hitting Tab, or use a combination of Shift+Tab keys to hide all the panels for a cleaner, distraction-free workspace!
This definitely helps me to concentrate better when I play with masks and use a brush.
29. Press F to view an image in full-screen.
Sometimes you need to focus on the image without any distractions from the interface.
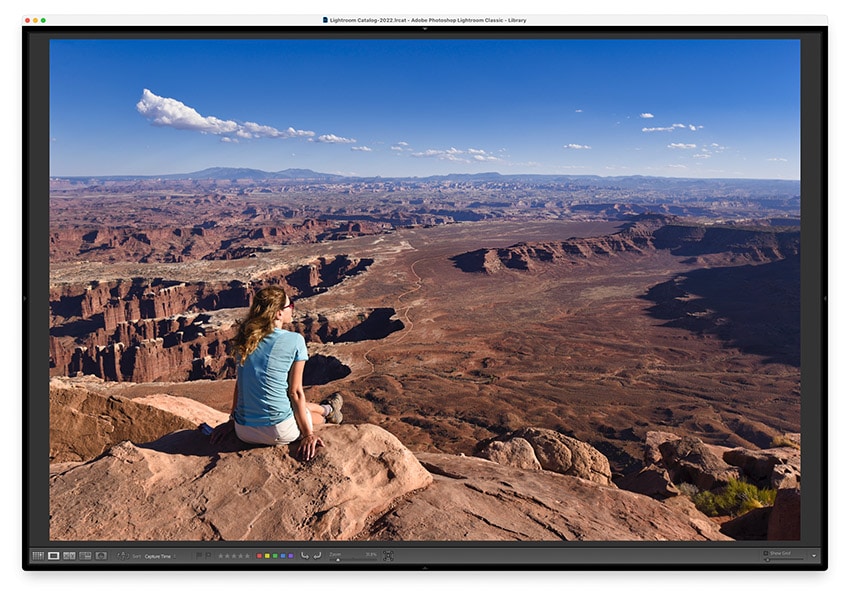
Whether you want to judge your edits, evaluate the composition, or just enjoy the finished image, hit the F key for full-screen preview.
F shortcut will hide all panels and toolbars. To exit the full-screen mode, just hit F again or press Esc.
30. Hit Cmd+E to edit image in Photoshop.
Have you ever felt limited by the editing capabilities of Lightroom Classic and wished you could access the more powerful tools of Photoshop?
With Cmd+E shortcut, you can seamlessly transfer your image from Lightroom to Photoshop for further editing and manipulation. Whether you want to remove an unwanted object from your picture, composite multiple images together, add text or other creative effects, Photoshop has endless possibilities.
Yes, Photoshop is much more difficult to use, with all the masks, blending modes, layers and over 70 tools, lots of people will feel lost… I love Lightroom Classic for its simplicity and speed of editing, but certain things are just impossible to do in Lightroom or may take much, much longer.
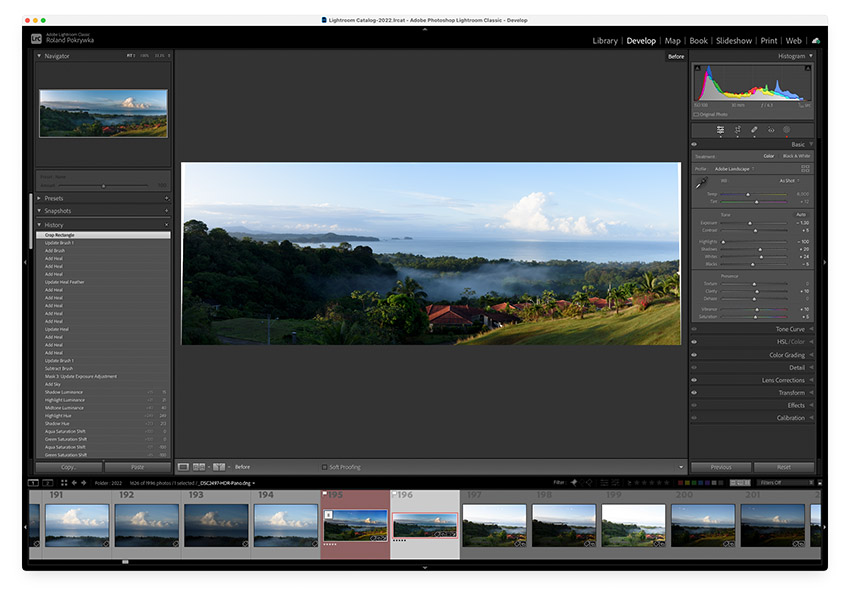
I shoot a lot of panoramas with bracketed exposures, and typically merge between 30 to 60 images. A lot of a time I will end up with some blank areas, which I can fill in Photoshop with content aware tool! This is an amazing tool!!!
Ok, after you are done, save or exit Photoshop, and a copy of your new image will be saved in Lightroom. This way you can keep the original plus the edited version.
Conclusion
Wow, here you go – 30 most useful keyboard shortcuts in Lightroom Classic!
If you like reading and want to learn more about Lightroom and how to get the most out of this software be sure to read my post titled – Best Lightroom book? Top 10 Books to learn editing in Adobe Lightroom
Mastering Lightroom Classic keyboard shortcuts can greatly enhance your workflow, save time, and improve the efficiency of your editing process. By incorporating these shortcuts into your daily routine, you will be able to quickly access the tools you need and perform various tasks with ease.
While there are many keyboard shortcuts to learn in Lightroom Classic, it’s important to focus on the ones that are most relevant to your editing process. Take the time to practice and memorize these shortcuts, and you will quickly find that they become second nature.
Remember that keyboard shortcuts are not a replacement for understanding the fundamentals of photography and editing. They are simply a tool to help you work more efficiently and effectively within Lightroom Classic. So, continue to hone your skills and experiment with new techniques, and let these keyboard shortcuts help you along the way.
If you want to learn even more shortcuts be sure to check out the Adobe website where you can download Lightroom keyboard shortcuts pdf.
Thanks for stopping by, and happy editing!
